- As a SWIFT Admin, login to your swift.com account.
- Click on your name, then select Edit your Profile
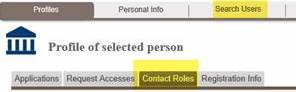
- Select Search Users and search for a user in your organisation that needs the ability to create License ID and License Secret.
- Click on the user, then select Contact Roles.
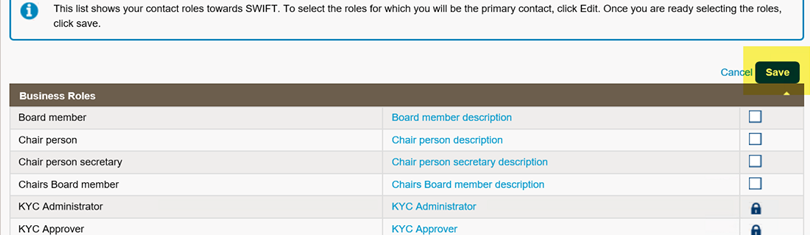
- Click edit on the top right.
- Under Security Contact Roles, find SWIFT API Administrator and change the checkbox to checked.
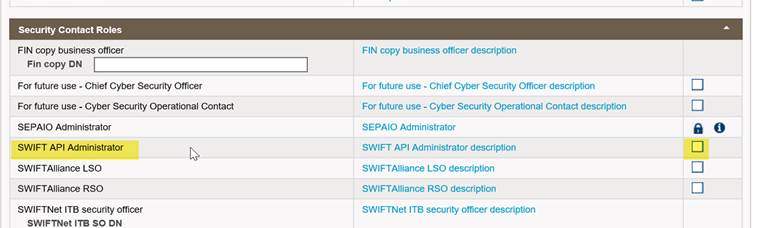
- Save your changes with the Save button.
- As a SWIFT API Administrator, login to your swift.com account.
- Go to the top right corner of the page, and click on your name, select Edit your profile.
- In your profile page, move your mouse cursor over to Admin Functions and select License ID creation. Please note that this page could take up to 60 seconds to load.

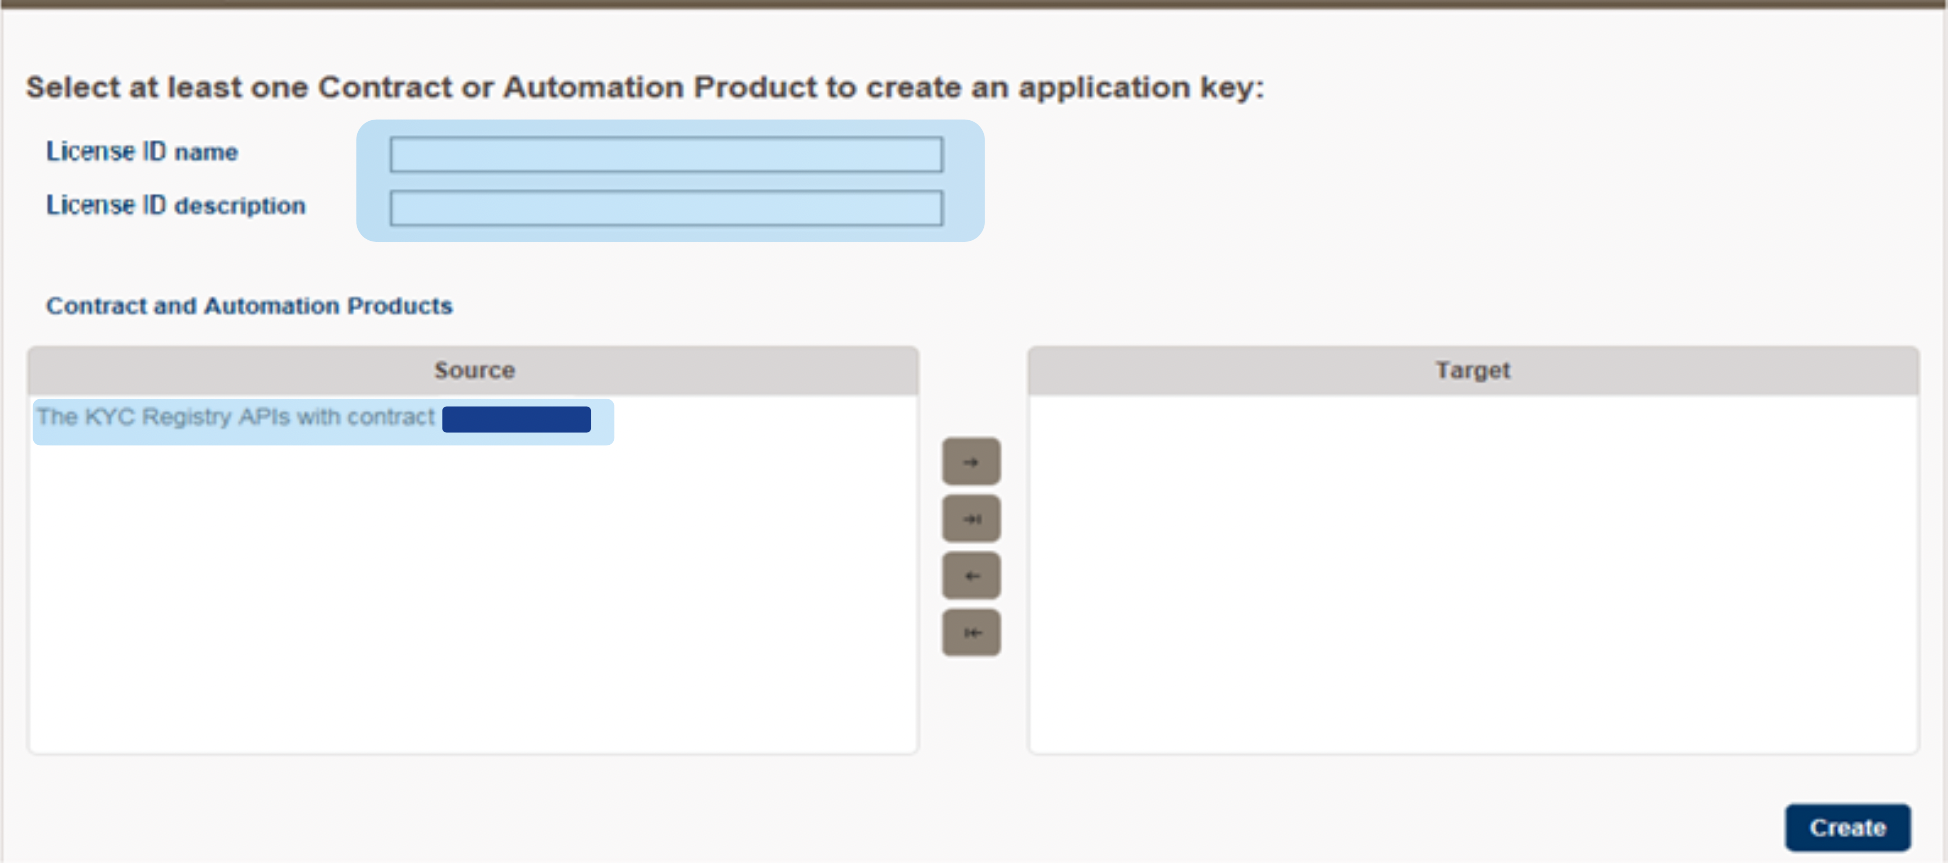
- Enter a License ID name and description which you can identify your application easily.
- Select your contract from Source and move it to Target. Then click Create.
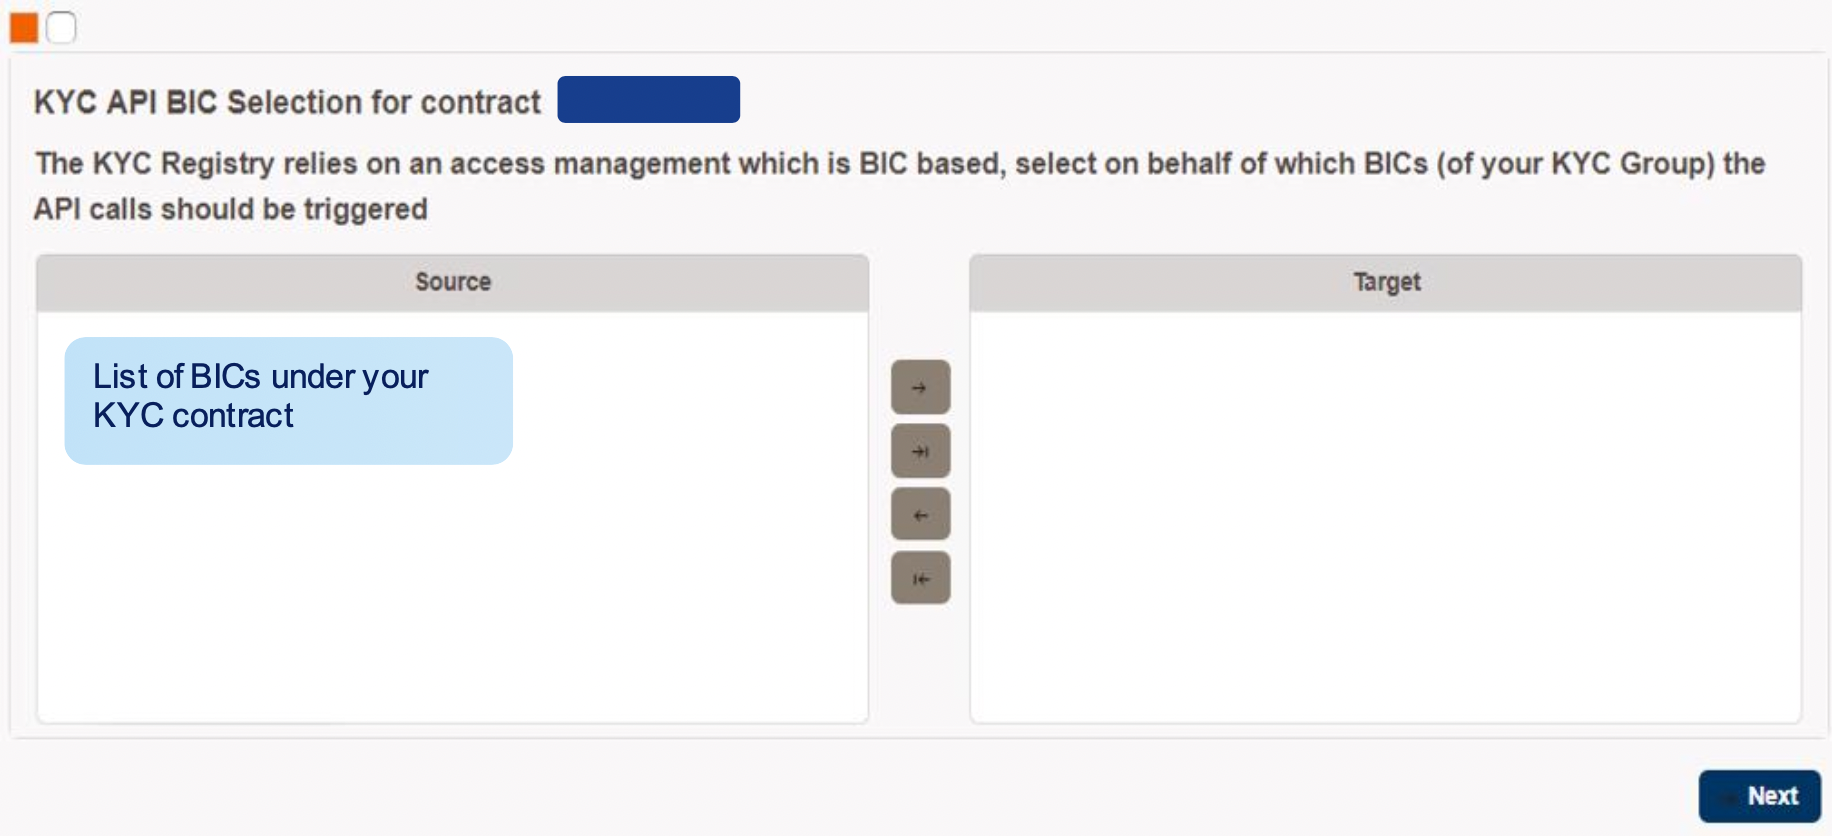
- The list of institutions/entities/BICs under your contract will be shown in Source.
- Select your BICs from the Source that will be able to execute the API calls.
- Move the BICs to Target, then click Next.
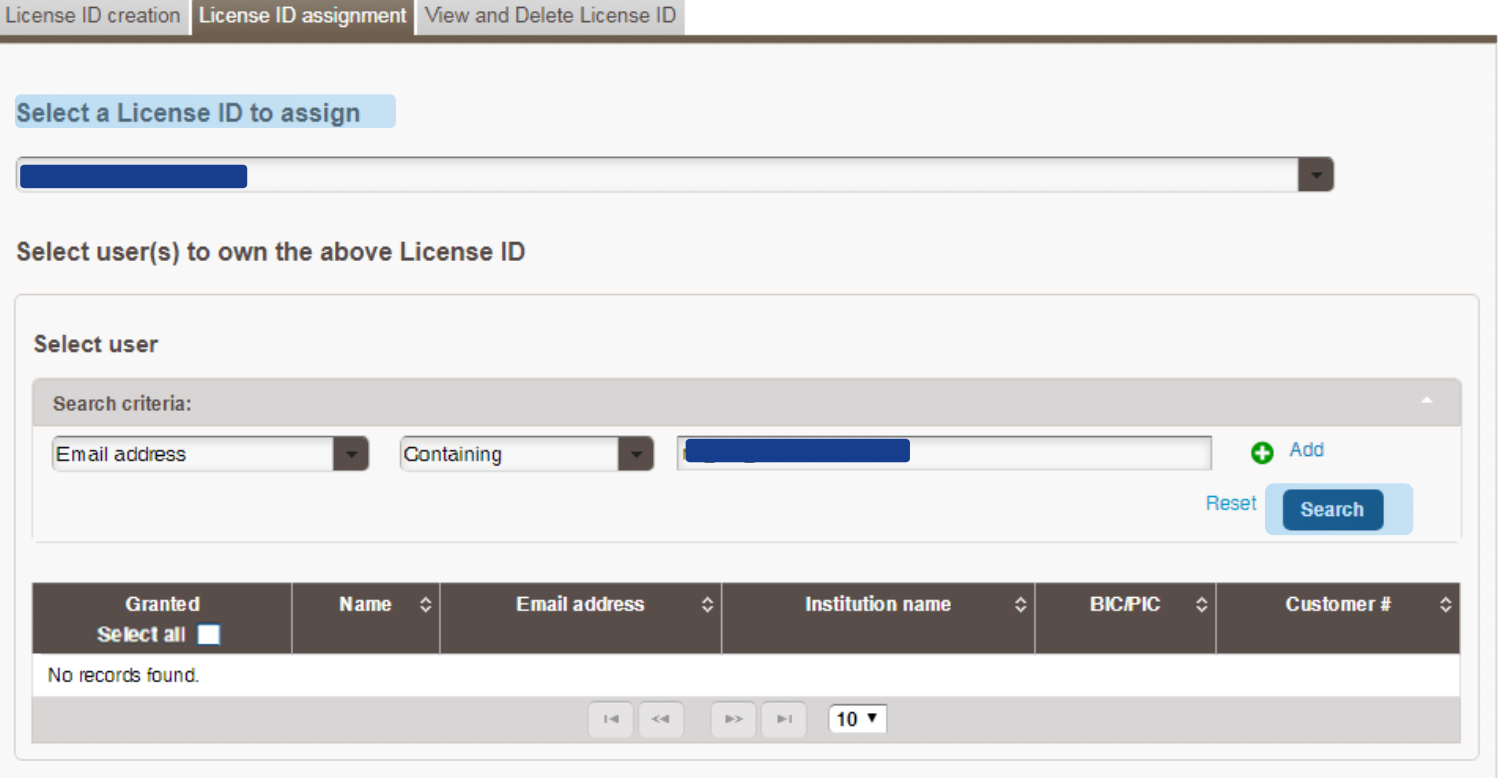
- Go to License ID assignment, select the License ID that was created.
- Search for the user(s) who can own this License ID (e.g. IT team members) including yourself if you would like to view the details of the License ID.
- The user who owns the License ID will have access to the License ID and License Secret values for the LIVE API connection.
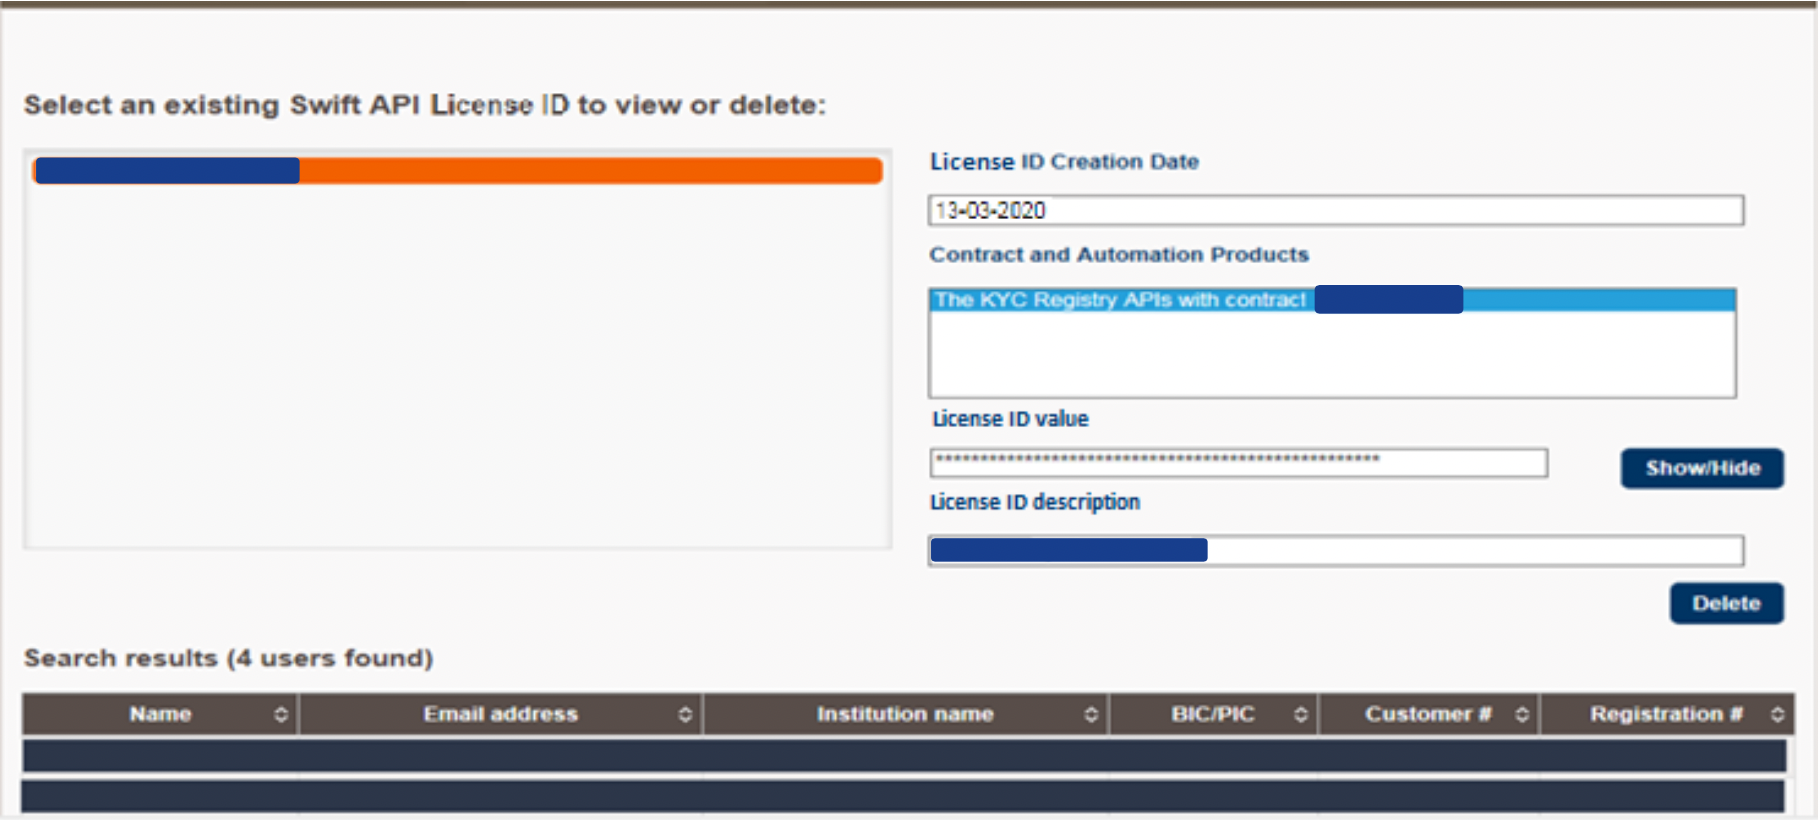
- In View and Delete License ID, all details of the License ID are displayed.
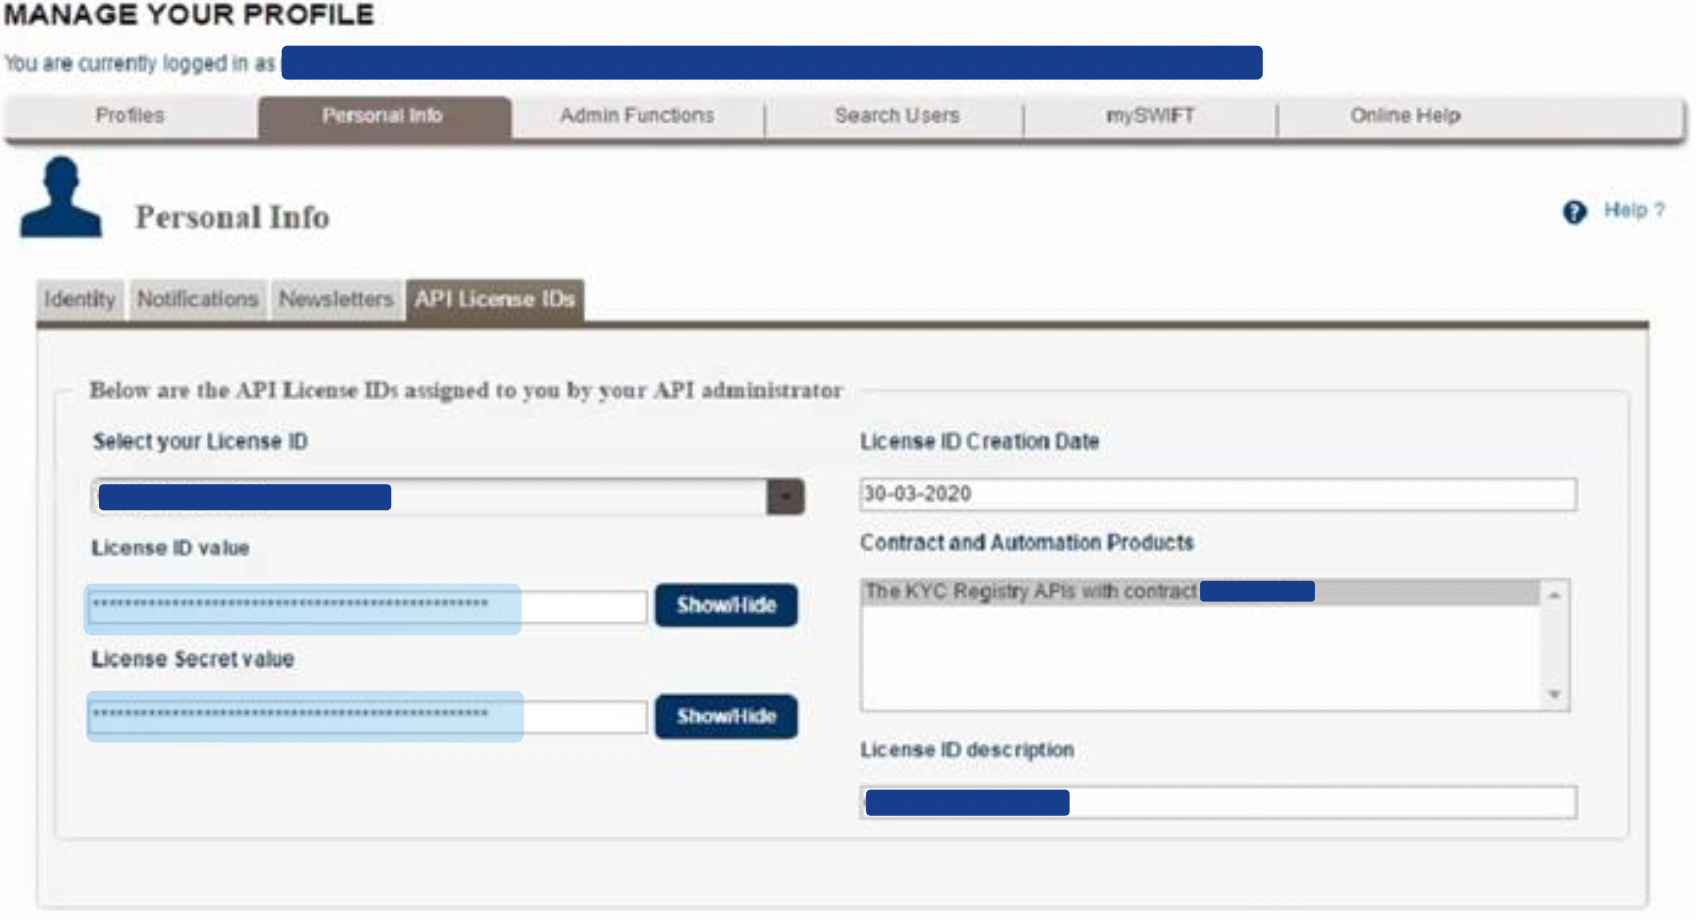
- After the License ID has been assigned to the user, the user will be able to view the License ID and License Secret via their profile page.
- Move your mouse cursor over to Personal Info, and select API License IDs.
- The user may use the License ID (username) and License Secret (password) values shown to authenticate the connection with SWIFT Gateway for the API calls.